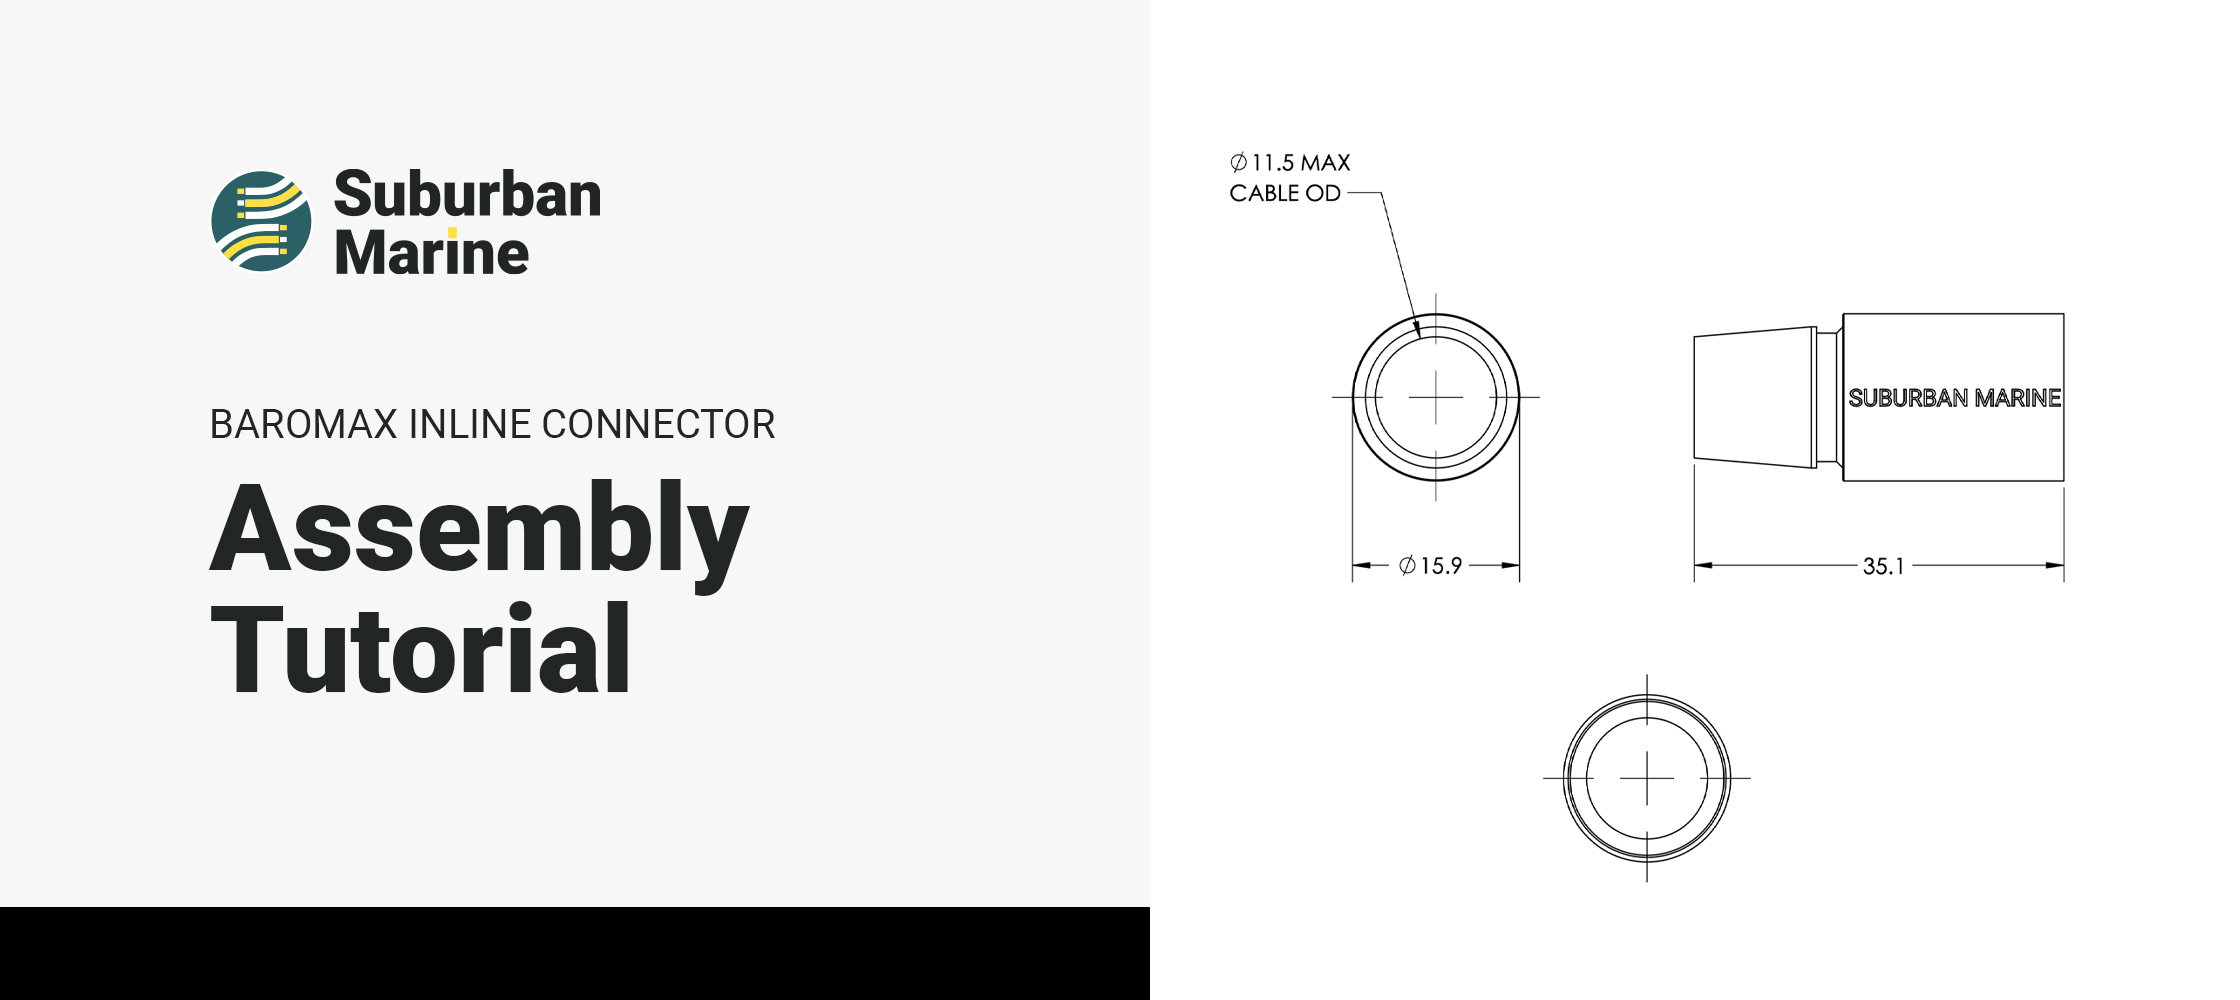
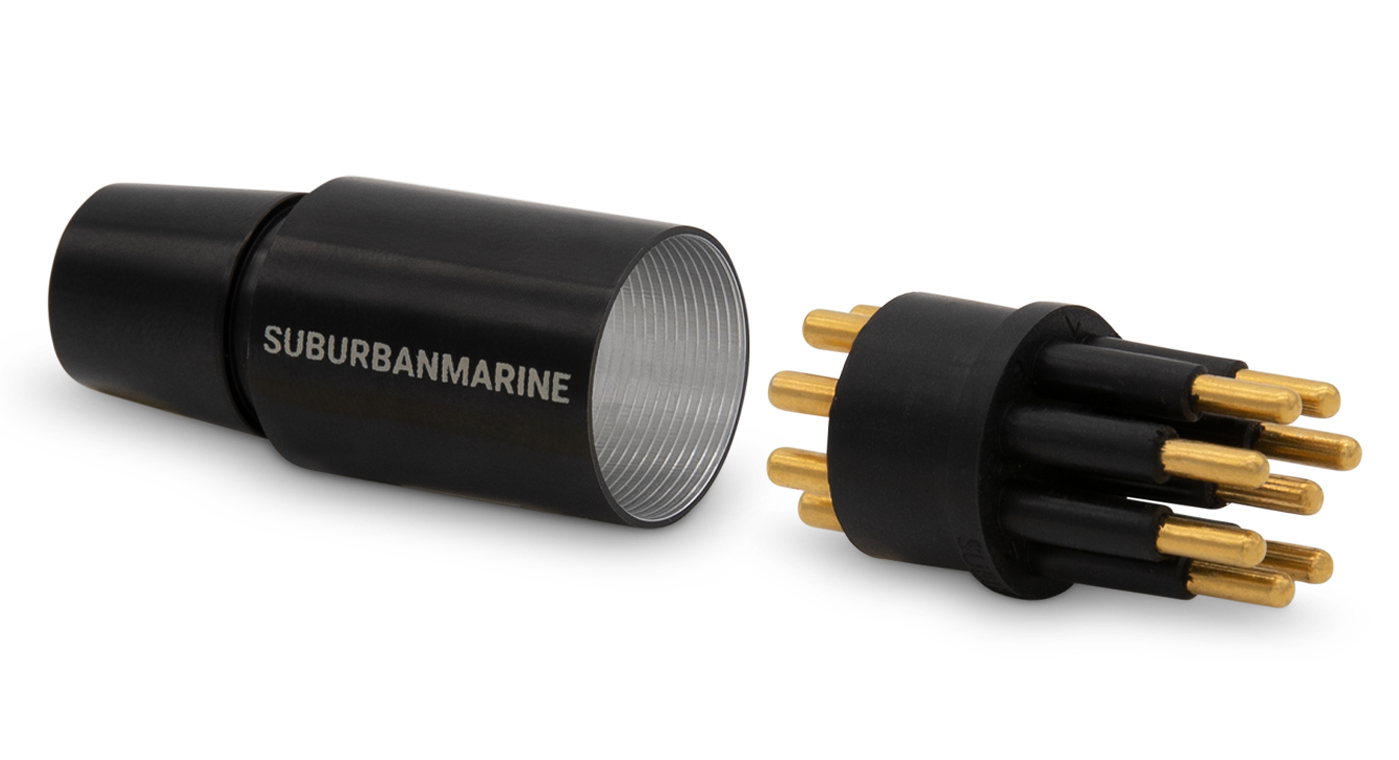


Here at Suburban Marine, our goal is to make it as easy as possible to assemble your cable of choice with one of our Baromax Connectors.
In this tutorial article, we’ll walk you through how to successfully assemble our Bulkhead Backshell product, whether you have bought individual connector components, one of our popular connector kits, or have built your own . We’ll provide a simple overview of the procedure along with a few helpful tips on how to best complete the process and make some high quality electrical connectors.
Step 1: Get Your Gloves On
Before you start, put on some nitrile or latex gloves to keep the backshell, connector, and cable free from oils.
Step 2: Strip the Cable Jacket
Begin by stripping 1 – 2 cm of the cable jacket off the end of the cable to expose the wires. You’re also going to want to strip about 5 mm of wire jacket off of each individual wire. Make sure there are no frayed wires that could cause an electrical short.
Step 3: Prep the Connector, Backshell, and Wires with Sandpaper
Before soldering and potting your connectors, it’s important to prep the surfaces for bonding with the Baromax Epoxy. Using 120 grit sandpaper, abrade the neoprene on the Baromax Connector until it is rough all around and no longer shiny.
![]()
Tip! Sand the neoprene gently so you don’t expose the pins under the neoprene and cause electrical shorts.
To prep the backshell, roll up the sandpaper and insert it into both sides. To abrade the ends of the backshell where it will bond with the connector and cable, simply lay a piece of sandpaper on your workspace and rub the backshell around.
![]()
Tip! It’s best to sand in little circles.
Before moving on, make sure to abrade the cable jacket roughly 2” (50mm) from the end until the surface is rough.
Step 4: Clean with Isopropyl Alcohol (IPA)
To finish your prep, apply IPA to a Kimwipe and clean all of the abraded locations from oils and debris.
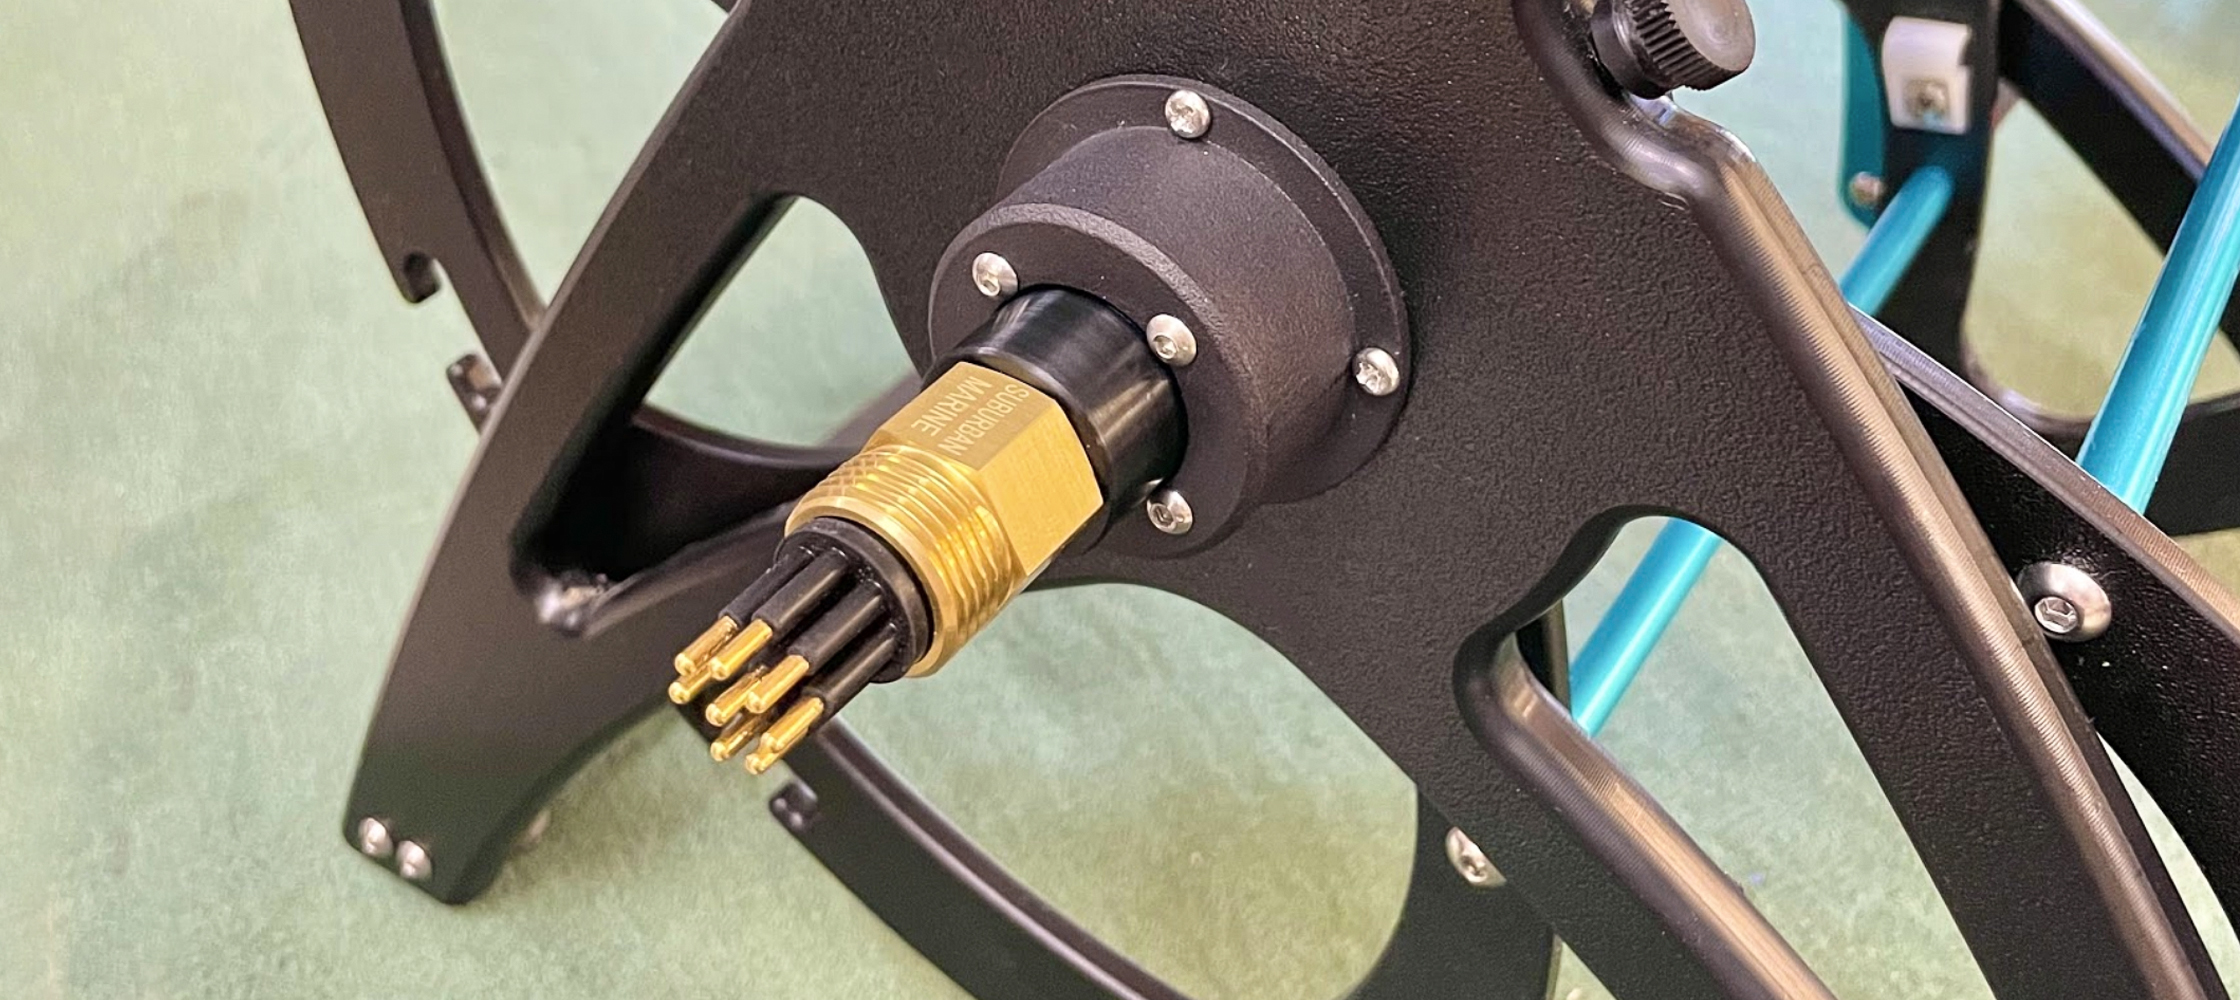
Step 5: Insert Cable into Bulkhead Backshell
Now, insert the cable/wires through the small diameter hole of the backshell so that the larger side of the backshell is on the wired side of the cable. Note: It is very important to complete this step before soldering because the backshell can only be installed onto the cable before the cable is soldered to the connector.
Step 6: Build Your Cable Assembly Jig
To make your life easier, we’ve created the Cable Assembly Jig for soldering and potting your connectors. To assemble it, insert the square post into the slot on the jig base, and secure it by inserting a screw into the back of the base. Slide the three cable alignment clamps onto the post and insert thumb screws to keep them in place. These clamps will hold your cable straight and out of the way while you solder.
Step 7: Solder the Wires
With intermediate soldering skills, this step is fairly straightforward. Here are a few tips and things to keep in mind to make it even easier:
![]()
- Tin the end of each wire with solder to prevent fraying during soldering.
- The connector pins are numbered on the bottom of the connector, so be sure you’re connecting the correct wires to their corresponding solder cups. Start with #1!
- Heat the connector pins for no more than 10 seconds to protect the connector neoprene.
- Solder at 700°F (370°C) with 63/37 solder.
- Clean solder joints are important so use a solder wick to clean up any excess solder.
Step 8: Clean the Connections with IPA
After soldering, use a brush soaked in IPA to clean the flux off of the connector and thoroughly rinse the connector with IPA.
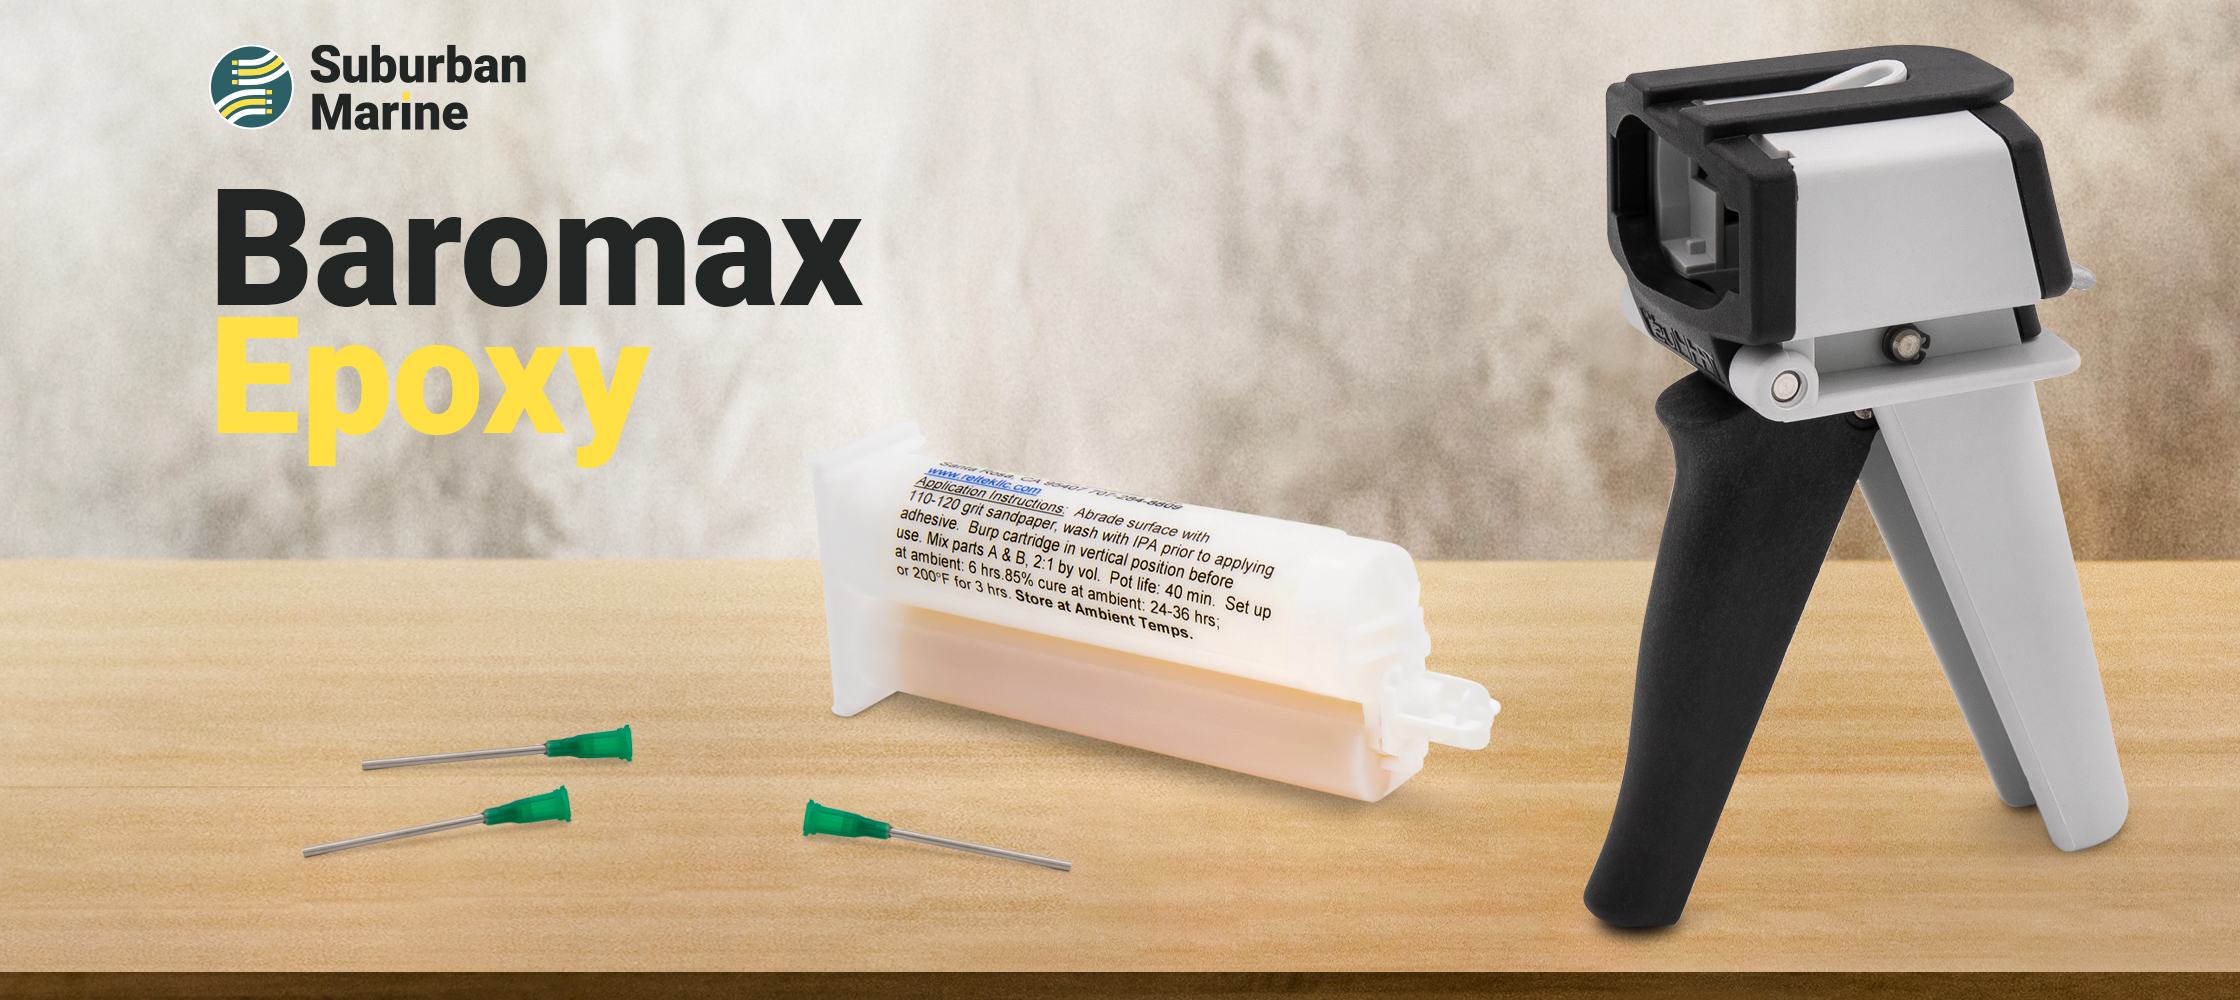
Step 9: Prep the Epoxy Gun
When using a new epoxy cartridge, dispense a small amount of epoxy to remove air bubbles. Then, attach the mixing nozzle and dispense a small amount of epoxy ensuring it is fully mixed. Finally, press the dispensing needle onto the end of the nozzle.
Step 10: Pot with Baromax Epoxy
The goal of the epoxy is to bond the connector to the backshell and fill the backshell to insulate the wires and seal the connection.
To do this, start by applying some epoxy to the sides of the connector and slowly insert it into the connector backshell twisting it back and forth as you insert it to spread the epoxy evenly. Thread the backshell completely into the threaded hole on the Bulkhead Backshell Alignment Piece and press the cable into the clamps, ensuring the cable is vertical and centered in the backshell. Insert the needle through the top of the backshell and slowly fill up the cavity with the epoxy. Once you see epoxy coming up, slowly remove the needle while still dispensing epoxy.
Step 11: Let it Cure!
Cure your Baromax Connector for at least 24 hours at room temperature, 77°F (25°C). Alternate cure directions available at Suburbanmarine.io